If your instrument does not provide any more remote power supply in CATV mode, check the following points.
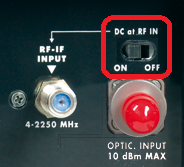
a) Check if the switch “DC@RF IN”, available in most models, is set to ON: see examples figures 1 and 2.
b) Ensure that the YELLOW LED “DC@RF IN” on the front panel of the instrument lights on;
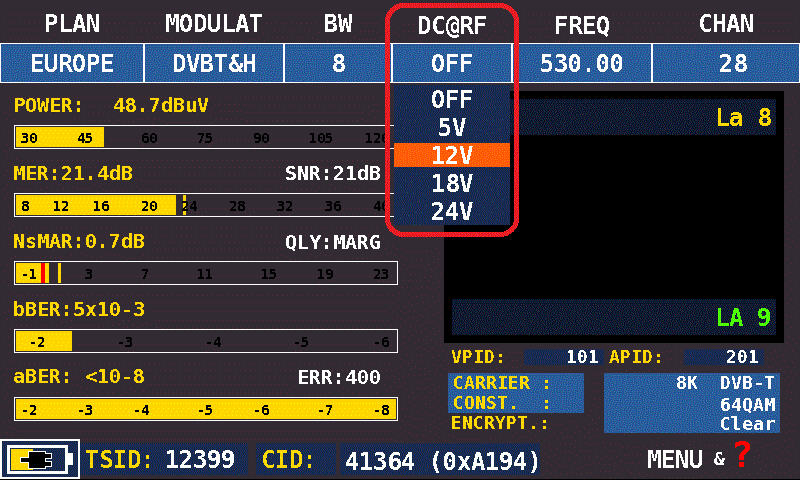
c) Activate in the measure MENU, the power supply voltage by selecting in the “DC@RF” the desired voltage value: 5/12/18 or 24 VDC (see example Figure 3);
 |
 |
 |
| Figure 1: DC@RF IN switch example | Figure 1: DC@RF IN switch example | Figure 3: Selection of remote power supply DC@RF IN example |
d) If the LED lights up, but after a few seconds that you connected the MAST-AMPLIFIER, the instrument does NOT provide any more voltage (the spectrum of the received signals decreases sharply or measures are interrupted), check:
In this case, the instrument must be sent to ROVER for repair (NOT covered by warranty).
 |
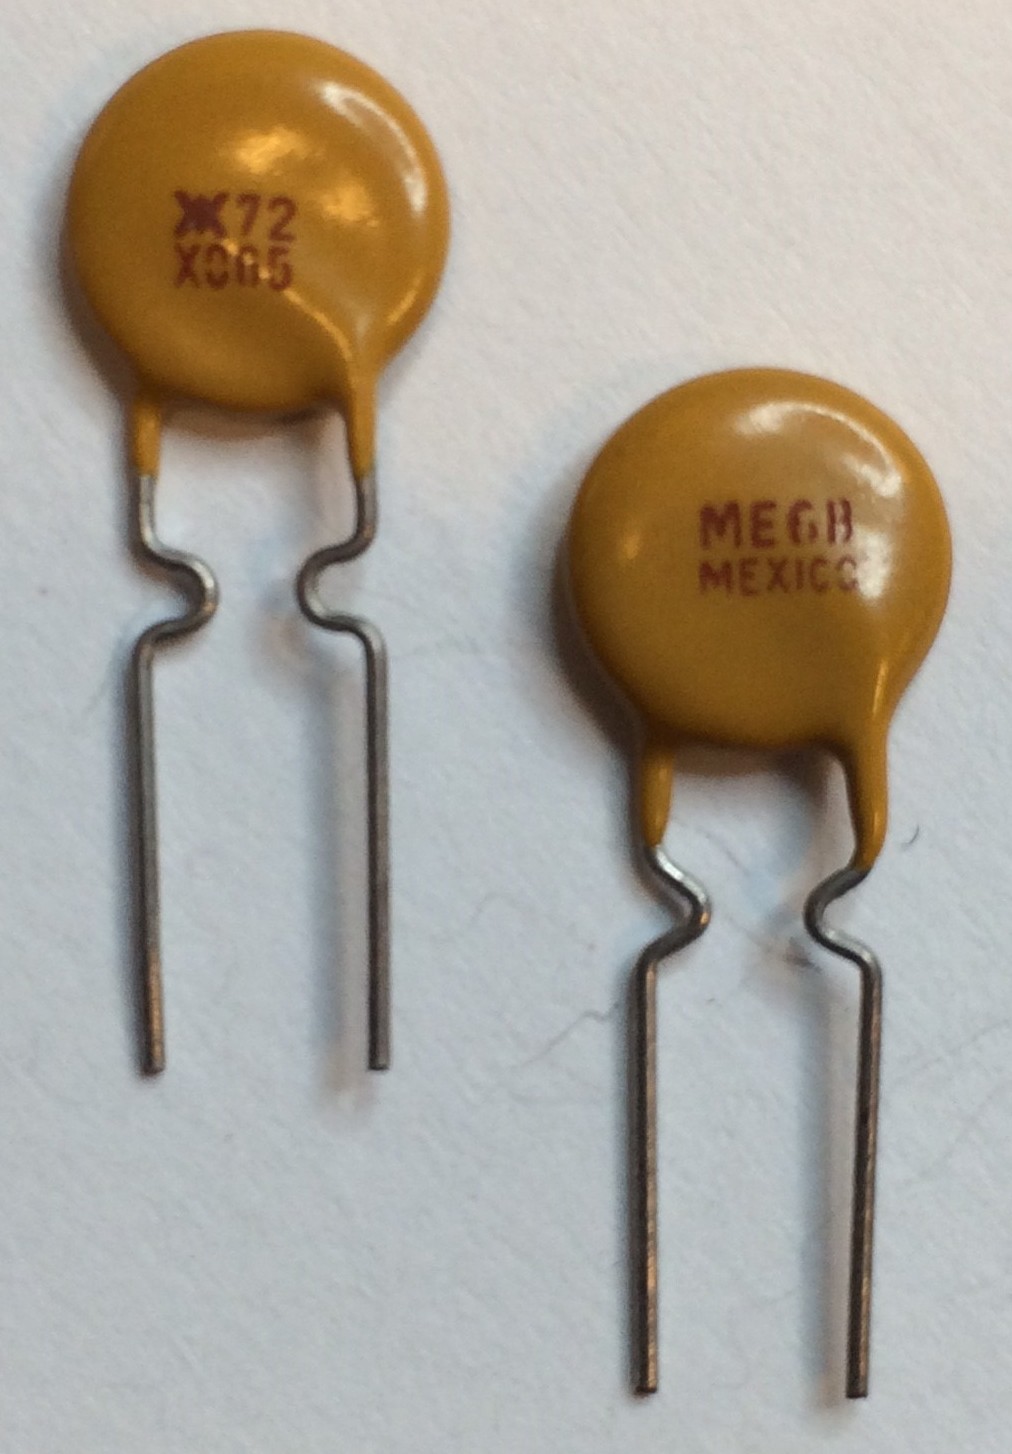
| Figure 4: PTC example (60 Volt, 650 mA, 0,31 Ohm) |
IMPORTANT: For safety reasons, the power supply voltage SWITCH OFF automatically when changing function for example by pressing the HOME key or when power is turned OFF.
IMPORTANT for use in the CATV networks: If the instrument is used in CATV networks while delivering the remote power of 13 or 18 volts and is connected to the main CATV line for more than 5 seconds, where circulating AC voltages between 66 and 100 VAC, could break protection causing serious damage to the instrument. In this case, the instrument must be sent to ROVER for repair and is NOT covered by warranty.