PRECAUTIONS:
Never look into the optical connector of the transmitter when the laser is turned on: TX Optical, Optical EDFA amplifiers, etc.
CLEANING:
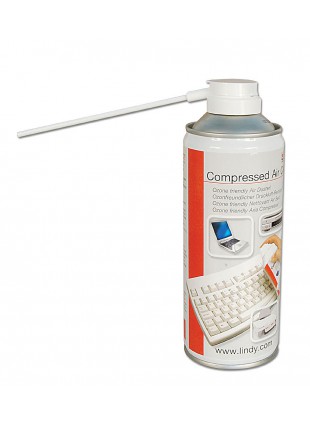
1) Clean the optical connector of the instrument (Figure 1) using ONLY a can of compressed air (Figure 2) for electronic applications. Since the compressed gases currently used are denser than air, we recommend that you strictly comply with the safety notes on the specific spray you are using;
NEVER use compressed air coming from a MOTOR COMPRESSOR
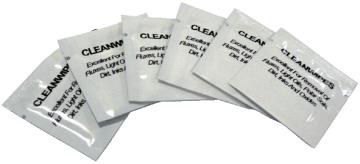
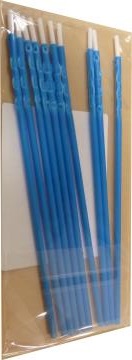
2) Carefully clean the optical braces before placing it into the optical connector of the instrument, using specific products such as, for example, wipes (Figure 3) or stick (Figure 4);
3) Always protect OPTIC CONNECTOR instrument with its anti-dust cap;
4) Always make sure that the instrument interchangeable optical connector (Series FC, ST Series, Series SC) is tight to the body of the instrument and that the connector of the optical fiber to be measured is properly latched or screwed to the interchangeable optical connector.
 |
 |
 |
 |
| Figure 1: Example: OPTICAL connector | Figure 2: Example: of compressed air can | Figure 3: Example: of cleaning wipes | Figure 4: Example: cleaning stick |
BAD CLEANING fo OPTICAL CONNECTORS example
| https://youtu.be/41376NV_-7c | https://youtu.be/-kgMPWQkb9I |
| Video 1: Blow on the connector | Video 2: Clean with your hands |
Note: MENU (written and graphic) of the figures shown in this “F.A.Q.” may vary from model to model without notice.